How to Enable SSH Server for Remote Login on Debian 9
In this article, I will show you how to install and configure SSH server on Debian 9 Stretch for remote login. Let’s get started.
Installing SSH Server:
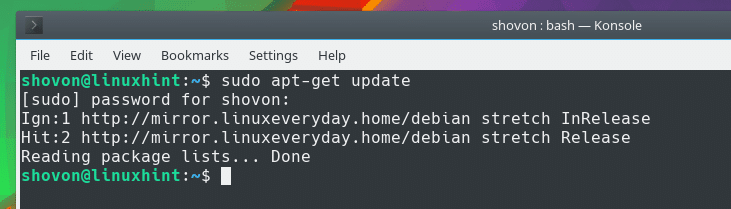
First update the apt package repository cache of your Debian operating system with the following command:
Your apt package repository cache should be updated as you can see in the screenshot below.
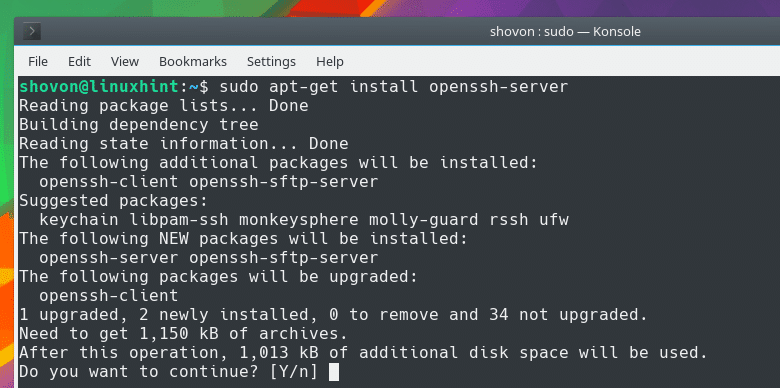
On Debian, SSH server comes as ‘openssh-server’ package. To install OpenSSH on Debian, run the following command:
Press ‘y’ and then press
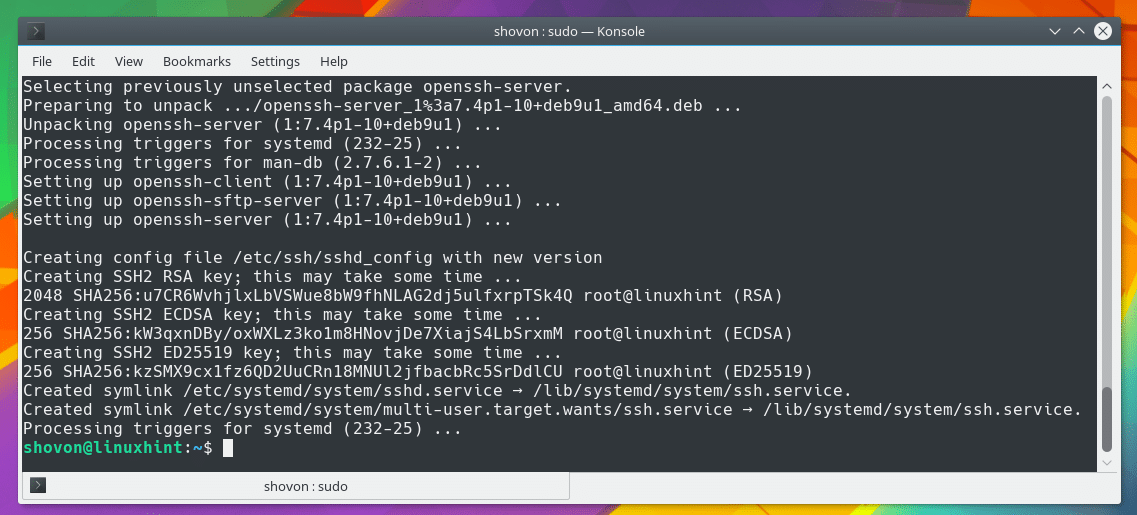
OpenSSH server should be installed.
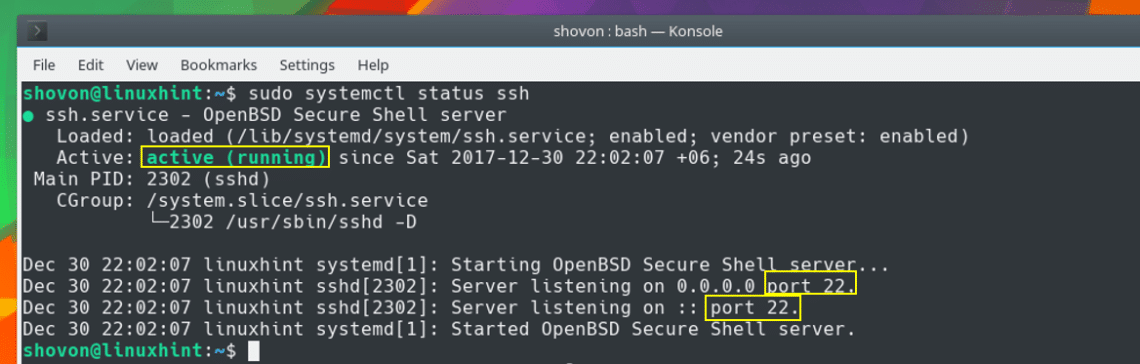
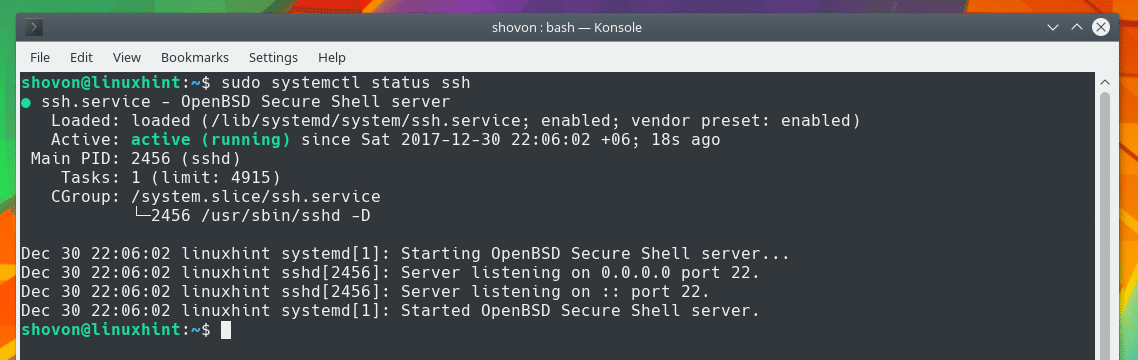
On Debian, the default behavior of OpenSSH server is that it will start automatically as soon as it is installed. You can also check whether OpenSSH server is running on it with the following command:
You should see ‘active (running)’ status as shown in the screenshot below. Which means SSH server is running. It is also listening on port 22.
If in any case OpenSSH server is not running, you can run the following command to start OpenSSH server.
Remove SSH Server from startup:
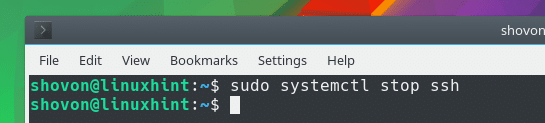
By default, on Debian, OpenSSH server should start automatically on system boot. If you don’t want it to start on boot then first stop the OpenSSH server with the following command:
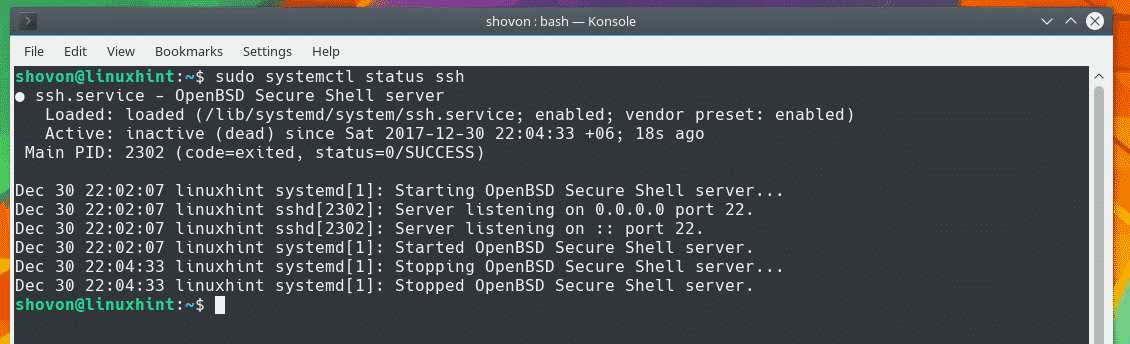
Now if you check the status of your OpenSSH server, you should see that it is not running as shown in the screenshot below.
Now disable OpenSSH server from startup with the following command:

Start OpenSSH Server on boot:
If you want to start OpenSSH server on boot again, just run the following command:

Now start OpenSSH server with the following command:
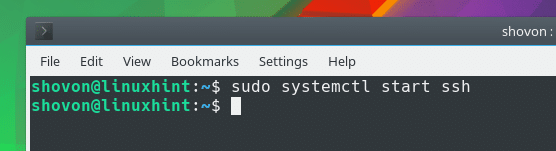
If you check the status of OpenSSH server now, you should see that it is running as shown in the screenshot below.
Connecting to the SSH server remotely:
Before you can connect to the SSH server remotely, you must know the IP address of the SSH server.
To find out what the IP address of the computer running the SSH server, run the following command from that computer:
You can see from the screenshot that the IP address of the computer I have SSH server installed on is 192.168.10.82

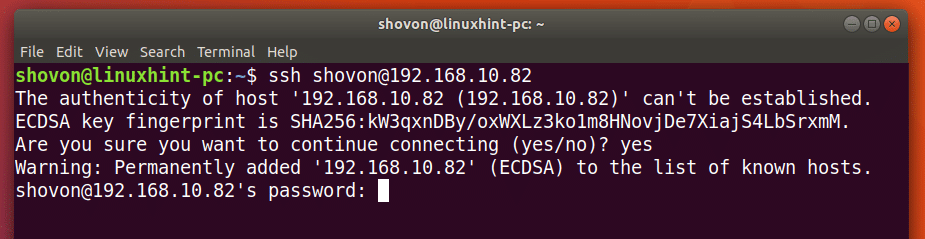
Now, to connect to this machine from another computer, run the following command:
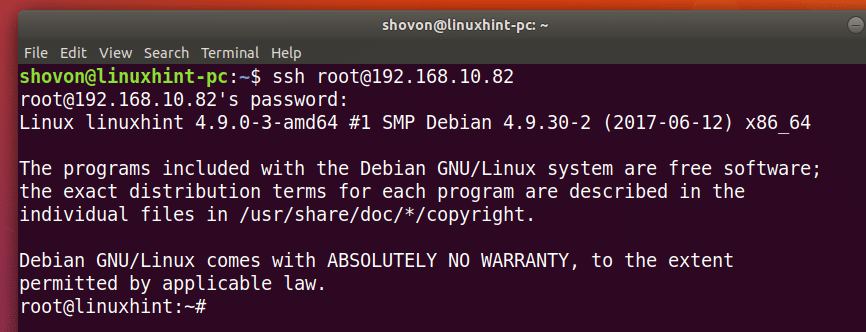
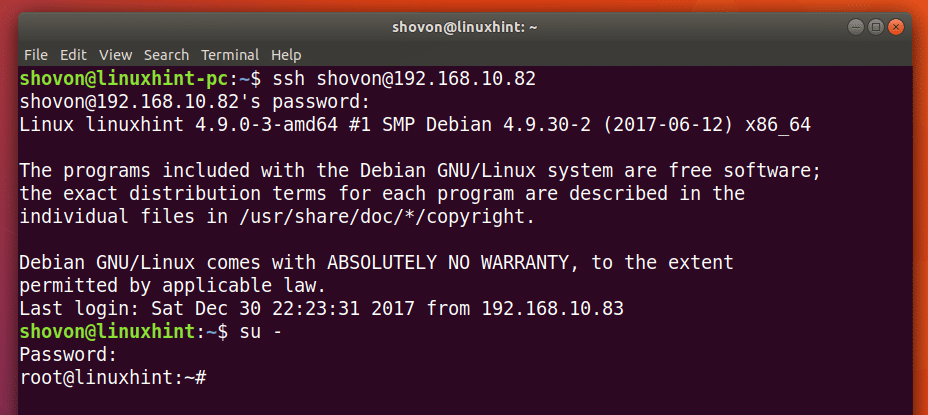
I will connect to the SSH server as user ‘shovon’ and with the IP address 192.168.10.82 from my Ubuntu 17.10 machine.

Once you press
Just type ‘yes’ and press

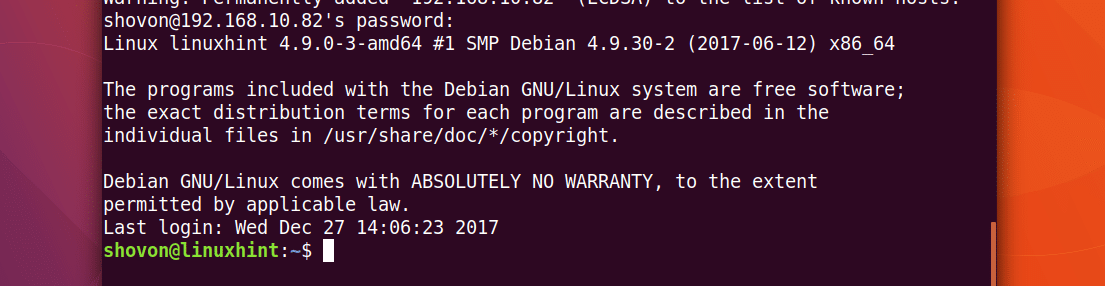
Then you should be prompted to enter the login password of the user you’re login as. Enter the password and press
You should be connected to the SSH server as that user. The hostname changed from ‘linuxhint-pc’ to ‘linuxhint’ as you can see from the screenshot below.
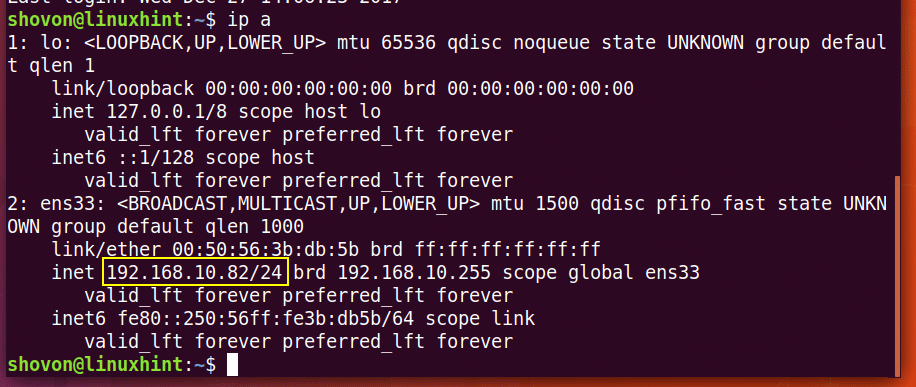
You can further verify that you’re connected to the remote server with the following command:
You can see that the IP address is 192.168.10.82! The IP of our SSH server!
You can run any command you want here and manage the remote server using SSH. You may even buy a Public IP and control your server from anywhere around the globe.
When you’re done configuring, just run the following command to close the SSH connection.
See? You’re logged out back into the ‘linuxhint-pc’.

root Access to the Remote Server with SSH:
Now if you want root access to the remote server, you may try to login as root with the following command:
But root access in modern operating system this way is disabled by default. It is also the case for Debian. There’s a ‘configurationless’ workaround, just login as an ordinary user and become root with the following command:
Enter your root password and you should be logged in as root as shown in the screenshot below.
You can change the configuration of your SSH server to allow direct root login as well.
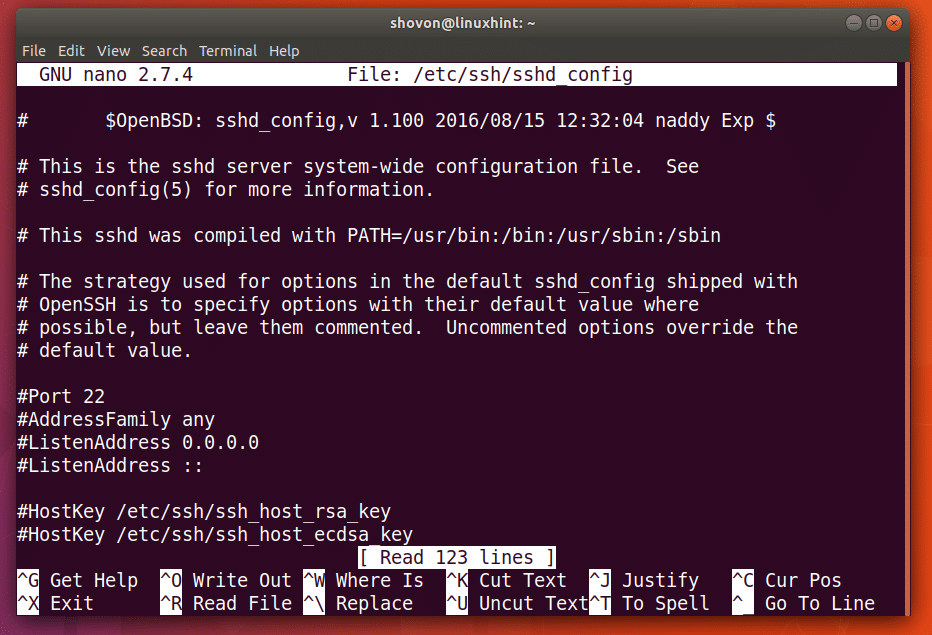
To do that, open the ‘/etc/ssh/sshd_config’ configuration file with ‘nano’ with the following command:

The file should look like this.
Scroll down a little bit. You should see the line as marked in the screenshot below.
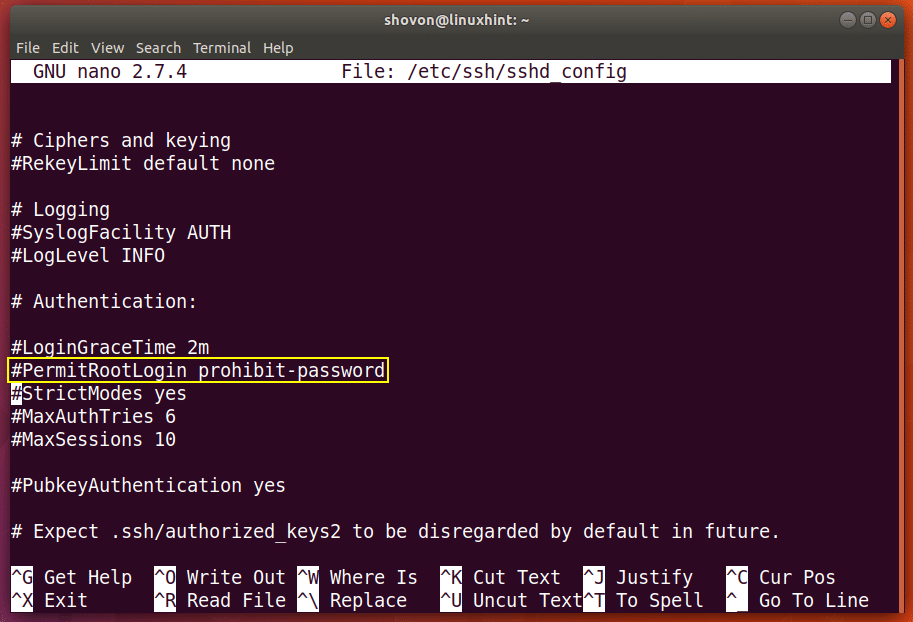
Remove the # sign before PermitRootLogin and change ‘prohibit-password’ to ‘yes’. Once you’re done, press Ctrl+X , press ‘y’ and then press

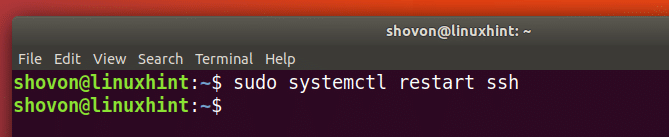
Now restart the SSH server with the following command:
Now you should be able to connect as ‘root’ user directly as shown in the screenshot below.